
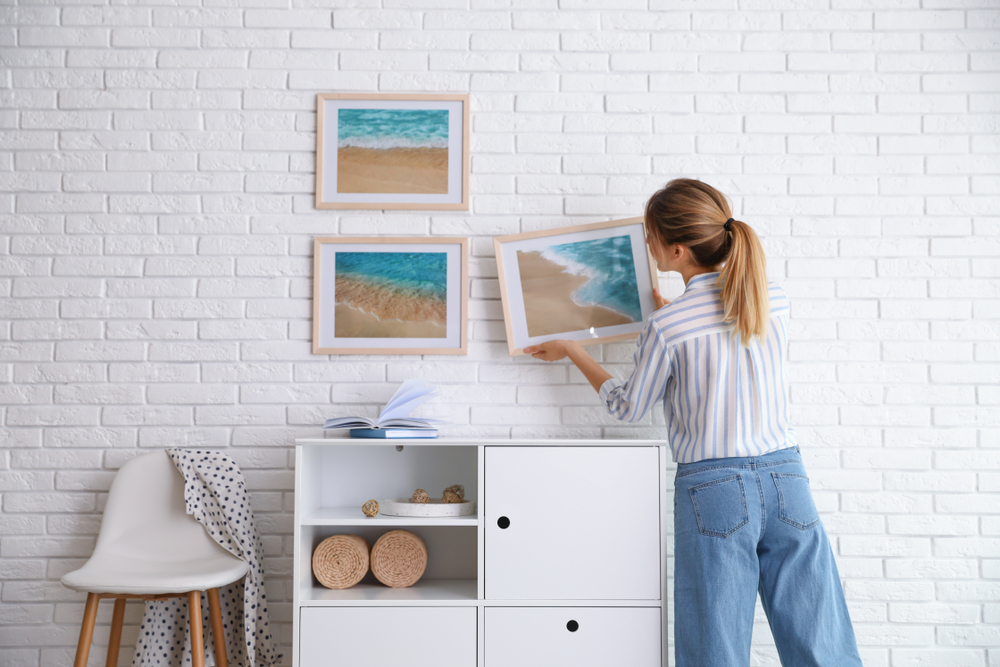
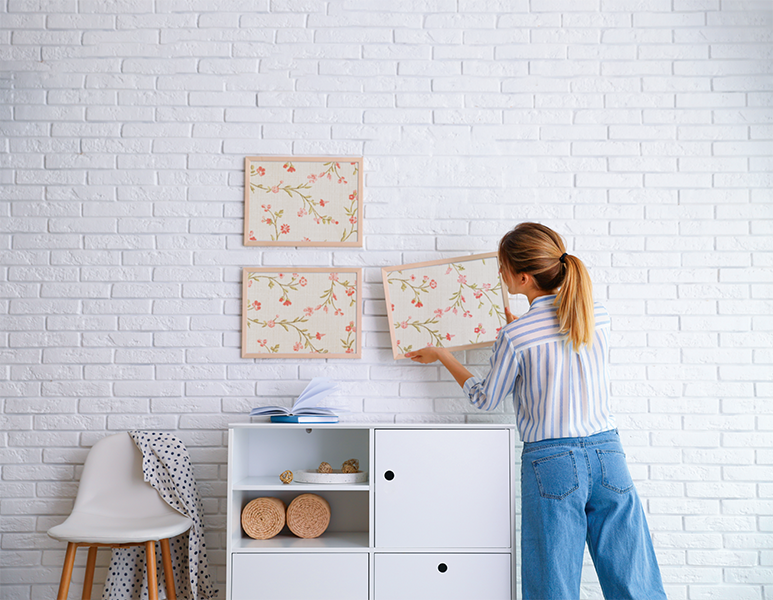
No matter how gorgeous your furniture is, blank walls make a room look bland and unfinished. The right wall art can bring a whole new look to your living space, turning it from drab to fab. But a beautiful piece of art costs an arm and a leg, right? Wrong. There are lots of inexpensive and simple techniques to decorate your walls the DIY way.
Hanging Flower Garden
This DIY project brings total cottagecore vibes to any room, transforming your wall into a beautiful bouquet of flowers. It’s a DIY design idea that’s going viral
online at the moment, and it’s super easy to do yourself.
Supplies
• 1 branch that fits your display area
• 1 roll of twine (or fishing line for a magical floating look)
• Large assortment of faux or dried flowers
• Scissors

Directions
1. Knot one piece of twine around both ends of the branch, giving it enough slack to hang.
2. Before cutting a strand of twine, knot the twine at the top and bottom of each stem, until you reach the desired length. Then cut the twine, leaving about six inches at the top to attach to the branch.
3. Repeat for each strand. Then tie each strand around the branch.
4. Hang your beautiful garden and admire!
Repurposed Rug
This one is almost too easy but that's why we love it! In just a few short steps you’ll have a beautiful wall hanging from an upcycled rug.
Supplies
• 2-inch thick Velcro strip (the width of the rug)
• Carpet thread
• 5-inch piece of flat wood (the width of the rug)
• Unbleached muslin fabric (the width of the rug)
• Drill, staple gun and screws
Directions
1. Sew the fuzzy side of the Velcro onto the muslin fabric.
2. Sew the muslin fabric to the back of your rug, using carpet thread.
3. Hang the wooden strip on the wall using drill and screws.
4. Attach rug, and voilà!
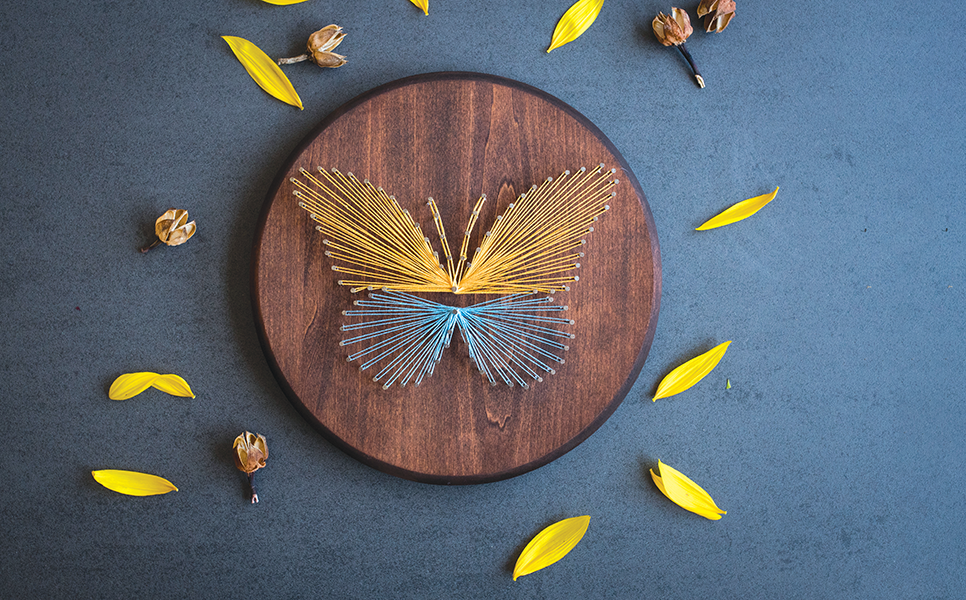
String Masterpiece
This DIY project lets you run with your creativity. From the color of the wood and string to the object you choose, it’s the perfect opportunity to showcase your personality.
Supplies
• Wood with picture frame hangers attached
• Hammer
• Linoleum nails (at least 1 container)
• Scissors
• Embroidery floss
• Template
• Tape
Directions
When choosing what object to make, look for images with simple outlines. You may also want to pick a piece of wood after you’ve decided on the template you want to use.
1. Position the template on the wood, taping it into place.
2. Hammer the nails around the template to create the outline. Try to space the nails evenly and hammer them to the same depth.
3. Once outlined in nails, remove template and use the embroidery floss to create a border. Start by selecting any nail to tie the floss around, leaving a tail to tie off when finished.
4. When you reach a corner or need to change direction, wrap the floss tightly around the nail.
5. Once the border is made, begin filling it in by crisscrossing from nail to nail. If you run out of floss, tie a new strand to the tail of the first strand.
6. Repeat, going nail to nail until the shape is filled in as much as you like.
7. Hang and admire!
Wallpaper Panels
Wallpaper has made a comeback in interior design. While you might not want to decorate an entire wall with bold patterns, in smaller amounts they make gorgeous wall art.
Supplies
• 3 masonite hardboard panels (cut to fit your wall)
• Base trim (cut to fit panels and painted as desired)
• Wood glue
• Picture frame hangers
• Roll of peel-and-stick wallpaper
Directions
Before getting started, make sure your work area is clean of pet hair, crumbs and anything else you don’t want poking through under the wallpaper.
1. Set out your first hardboard panel and unroll the wallpaper. Decide if you need to be precise in your cuts for a continuous pattern or if the pattern can be mismatched. Cut wallpaper with an Exacto knife to fit the board.
2. Next, apply wallpaper to the board, smoothing out any bubbles and readjusting as needed. Use wood glue to attach the base trim to frame out the panel. Set heavy objects on top of the corners and let dry.
3. Attach picture frame hangers to the back, making sure each panel has enough to hold its weight.
4. Finally, hang and applaud your artwork!
More Ideas
Gallery Wall:
Gallery walls are full of personality and are totally customizable to what you like. Choose to go with all carefully curated prints or mix and match art and treasured family photos. Although there is no true right way to create your wall, here are a few tips that will help pull it all together.
• Each photo or print should have 1-2 other pieces that share similar colors.
• Have a mix of vertical and horizontal pieces.
• Pick 1-3 larger pieces and fill the rest of the space with small- and medium-sized pieces.
• Frame family photos with a wide mat — for instance, for a 5x7 photo, use an 11x14 frame.
Magazine Silhouette Art:
Use a silhouette of the shape or object you want, then fill it in with strips cut from magazine pages.
Gold Splatter Art:
Splatter gold leaf adhesive on colorful cardstock, then place gold leaf all over the adhesive, using a soft brush to smooth it down. Buff off any excess, then frame and hang!
Wooden Mosaic Wall Art:
Paint or stain 2” wood blocks, then adhere to a sheet of plywood (make sure the plywood is the right size for the number of blocks). Once the glue is dry, attach picture hanging hardware on the back and hang your new art!
Try one of these projects and see where your imagination takes you next!

